
What you'll need:
-Blank picture frame
-White acrylic paint
-Acrylic paint in 2-4 different colours
-Paint brush
-Old Tarp, or any surface that you wouldn't mind getting dirty with paint
Information about the supplies:
 Blank picture frame: I bought this at Michael's. It's really affordable ($1.50) and it's something that you can have a lot of fun decorating!
Acrylic paint: I use the brand Americana and I also purchased this at Michael's ($1.99) and I especially love acrylic paint because it dries pretty quick, but if you feel nervous about it staining or getting everywhere, you can always use washable paint instead.
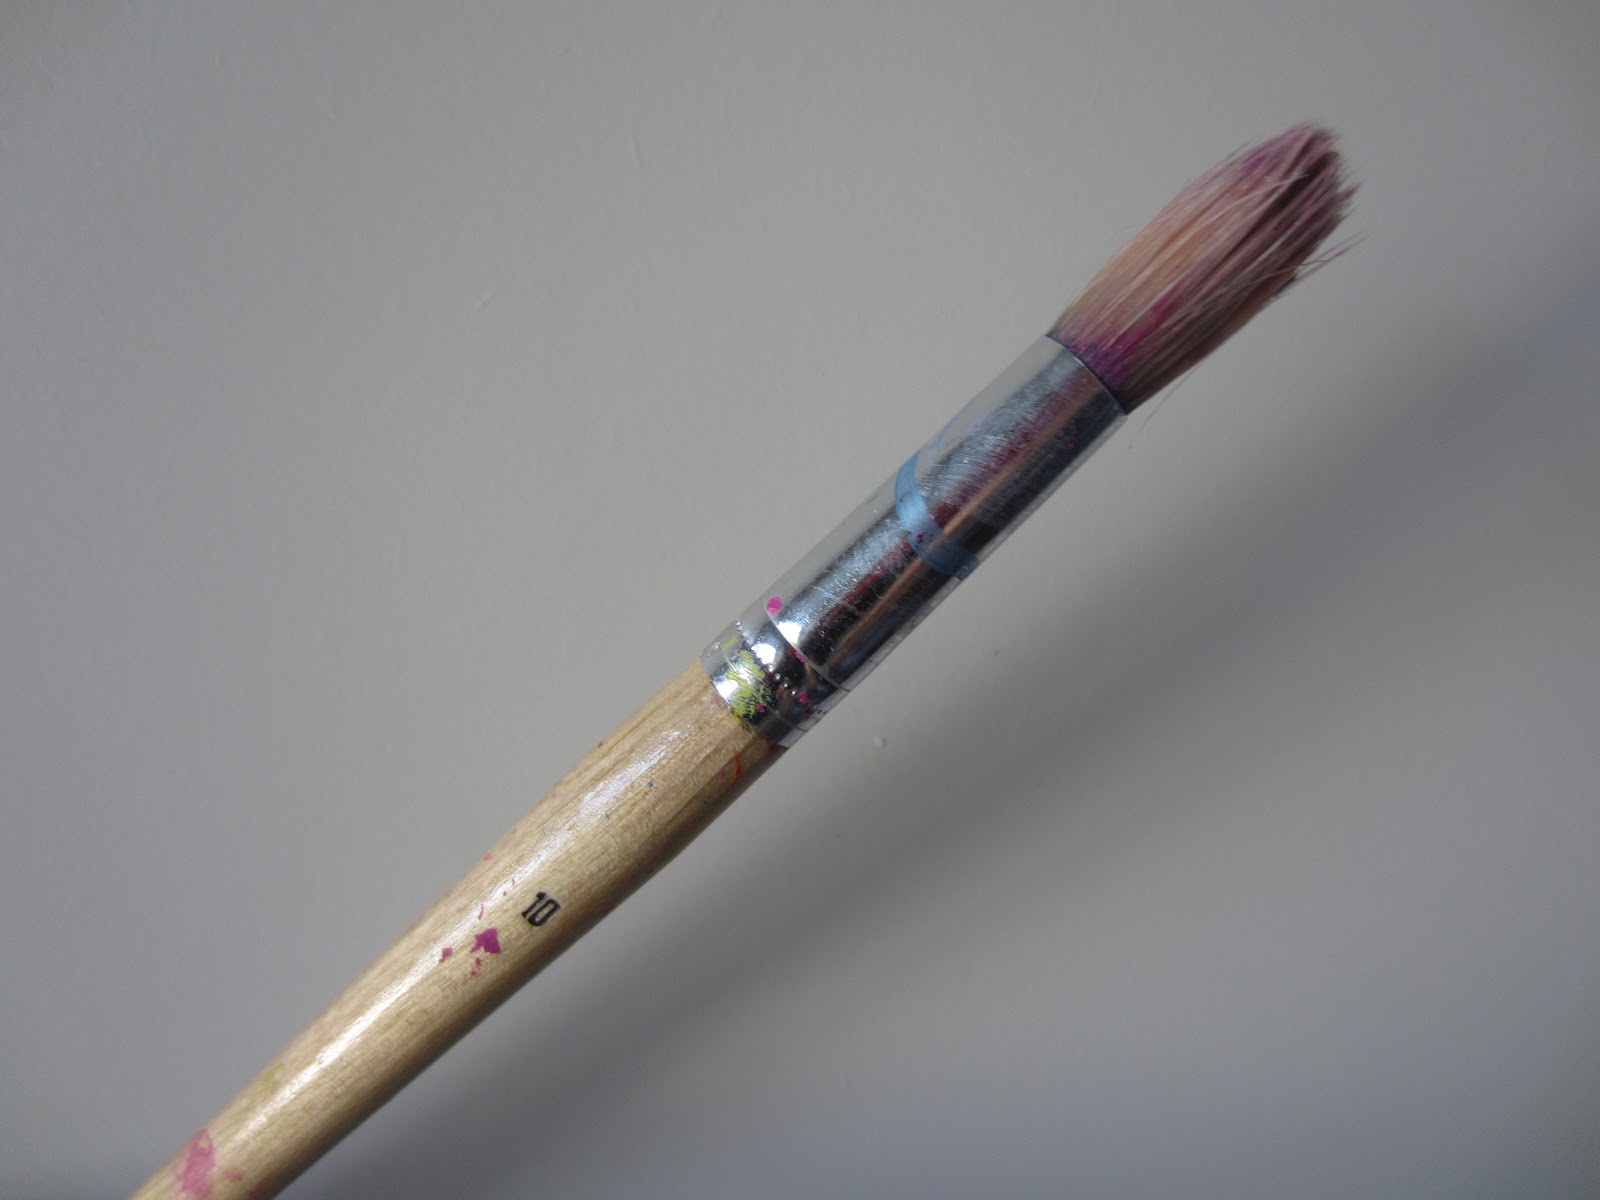
Paint brush: This paint brush is actually really old, (and I should probably buy new ones) but I know that Michael's sells LOTS and lots of paint brushes if you ever need to buy some!

Instructions:
1. Paint the whole picture frame with white paint. I used Americana's "Warm White".
 2. Get a lot of paint on your paint brush of one colour. I'm using Americana's "Vivid Violet" in the picture on the left, but you can use basically any colour you would like!
3. Splatter it onto the white picture frame (though make sure you have a surface under your frame that you don't mind getting dirty, like a tarp, or old table) You can splatter the frame by flicking the paintbrush towards the frame and the paint should splatter easily if you have a lot of paint on your brush! I also did the same thing with Americana's "Bubblegum Pink".
 4. Then let it dry for a couple hours (since there will probably be big blobs of paint that will take a while to dry). When none of the paint is shiny, or doesn't look wet, you can slip your picture into the frame!
And that's it! You're done! I had so much fun making this and it doesn't take long at all! This would be a perfect gift for your Mom, Dad, sibling or friend. Just slip in a memorable picture and you're done! Super inexpensive and easy :) I used pink and purple paint, but you can use any and as many colours you'd like! Feel free to comment if you have any questions, comments or requests! Hope you enjoyed reading and I'll talk to you next week!
-Megan :) xx
Next time: DIY back-to-school notebooks! Check back next week!
hi megan i'm using your blog to stalk what your room looks like lol xxcailin (sugar-p-l-u-m)
ReplyDeletelolol omg ^^^^
ReplyDeletebut aww meagan this was so cute!! although i am way too lazy to actually do this, this tutorial diy thing was awesome and a great idea :D <3
xoxo adeline (colorful-carouselles)
OH AND I LOVE LOVE LOOOVE THIS FONT <3
ReplyDelete(Adeline again!)
I can’t imagine focusing long enough to research; much less write this kind of article. You’ve outdone yourself with this material. This is great content. custom picture framers
ReplyDeleteWe are really grateful for your blog post. You will find a lot of approaches after visiting your post. Great work visit
ReplyDeletewow... what a great blog, this writter who wrote this article it's realy a great blogger, this article so inspiring me to be a better person more..
ReplyDeleteGood to become visiting your weblog again, it has been months for me. Nicely this article that i've been waited for so long. I will need this post to total my assignment in the college, and it has exact same topic together with your write-up. Thanks, good share. custom picture framers
ReplyDelete