Hey everyone! Today is my second DIY and since school is coming up pretty quick (I know a few people are already back to school), I have decided to do a post on how to make your notebooks look amazing instead of ugly and boring. It's super quick, easy and inexpensive! :)
What you'll need:
-notebook
-one sheet of 12x12 stock paper
-pencil
-hole puncher
-scissors
-glue
-paintbrush (optional)
Information about the supplies:
 Notebook:
 I picked this up at
Staples, but you can just pick these up at any office supply store! This is a 3 subject notebook that
DOES NOT have a coil. The ones without the coil are going to be
WAY easier for this DIY!
 Stock Paper:
 I got this at
Michael's. These are really inexpensive ($0.99 each) and so pretty! I picked a lot of different patterns when I went shopping but decided to use this ABC one because it's so cute and perfect for back to school!
 Glue:
Glue: I actually used liquid glue. I got this at
Michael's ($2.99 for 120 mL), but I would
highly recommend using a gluestick instead because with liquid glue, it tends to make little bubbles in the pages when you glue paper together, and eventually creates little crinkles. Unfortunately I was oblivious to this result.
 Pencil, hole puncher, and scissors:
 I'm just using an old pencil, an old hole puncher and some scissors I got at
Staples, but you can get them at any office supply store. I think these supplies are pretty self explanatory.
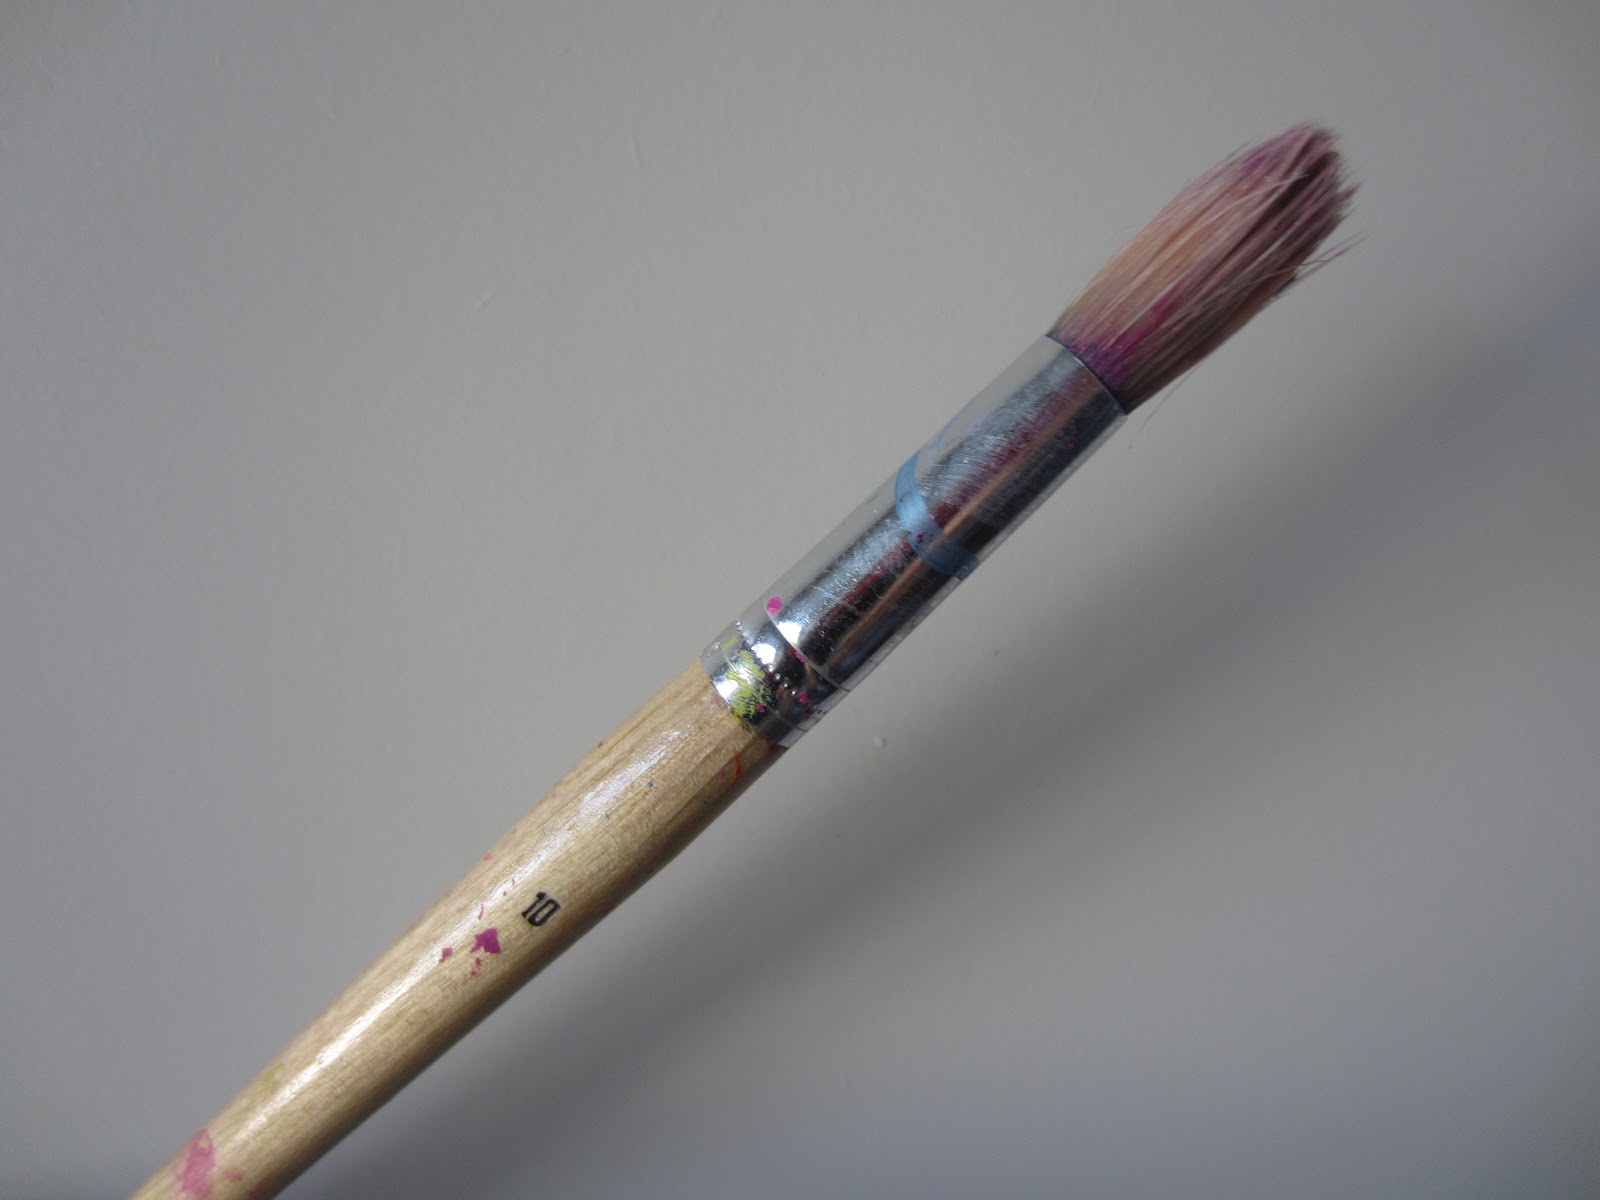
 Paint brush:
 This is an old paint brush, but you can just pick some up at
Michael's.
Instructions:
 1.
1. Line up your notebook with the stock paper. It's a little hard to see in this picture, but I just placed the stock paper on top of the notebook and lined it up so that it stopped just before the black spine.
 2.
2. Then, flip the notebook over, carefully making sure that the stock paper is still lined up. Trace the notebook cover with a pencil onto the stock paper.
 3.
3. Don't forget to trace the holes in the notebook! That will be your guide to where you need to punch out the holes with the hole puncher!
 4.
4. Cut the stock paper, but don't cut on the lines that you have traced. Allow about a 1 inch strip of extra paper on all sides,
EXCEPT for the side that has the holes.
 5.
5. Now, punch out the holes with your hole puncher. Make sure you punch them out on the circles you've traced.
 6.
6. So now when you place the stock paper on the notebook, the holes should line up perfectly, and there should be an inch of paper hanging off of every side, excluding the one with the holes/lined up with the spine
 7.
7. Put the glue onto the notebook and be generous with it, so that it'll stick, but don't put too much that you're drenching the notebook.
 8.
8. If you're using liquid glue, go ahead and spread it out with a paint brush. Though as I said, I would
highly, highly recommend using a gluestick instead!
 9.
9. The glue should be evenly distributed, and make sure it covers all corners and sides.
 10.
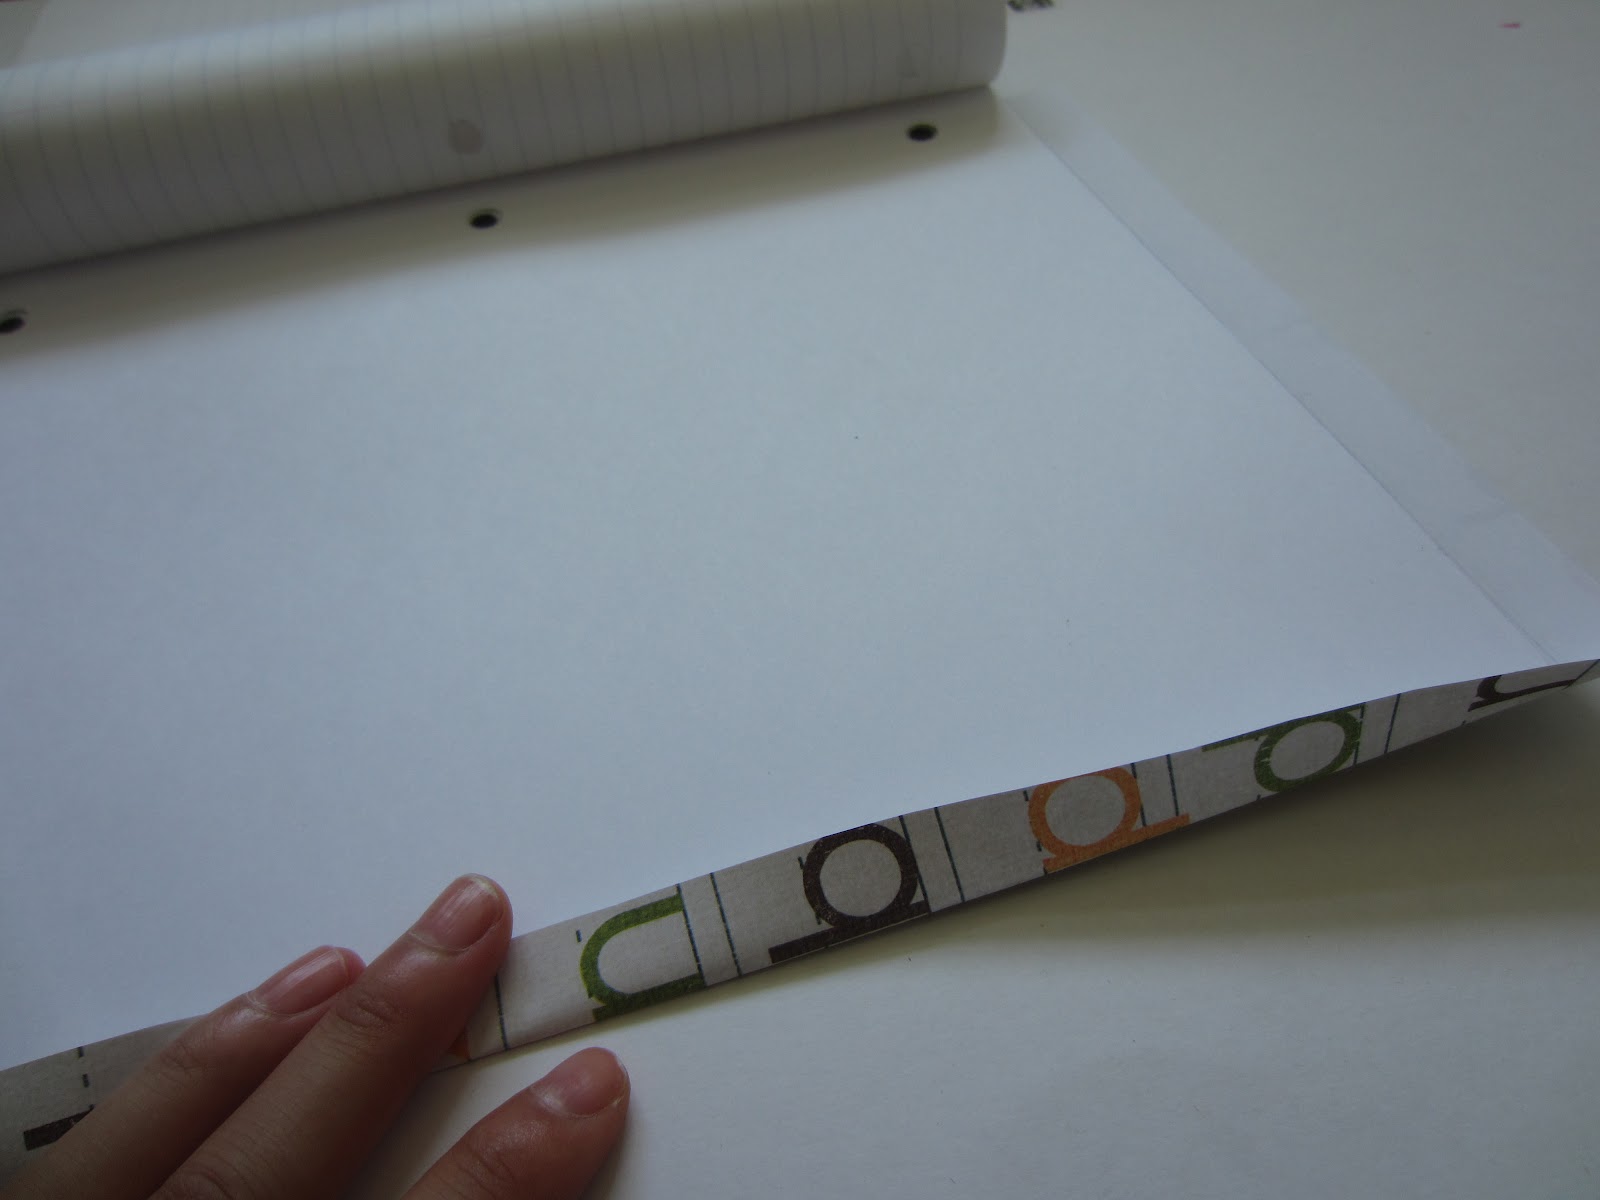
10. Place the stock paper on the glue and make sure it's all lined up. As I said, an inch of paper will hang off of all edges of the notebook except for the side with the spine. With those sides that hang off, fold them onto the inside of the notebook.
 11.
11. Glue the sides down on the inside of the cover of the notebook. Make sure they are all glued down. Wait for about an hour or two for it to dry and leave the cover open, to prevent it from sticking to the inside of the notebook!
 12.
12. Then you're done! Hopefully you'll have the best notebook in class! ;)
Thank you so much for reading! I hope you enjoyed this DIY and that it helped you add a little more personality to your notebooks! I'll see you next week for another DIY :)
-Megan :) xx
Next time: Quick and easy way to decorate your binders for back to school! Check back next week!

 Binder: I got this binder at Staples ($6.99) and I really like the bright colours of it. You especially want to get a binder where it has a clear covering on the front where you can slip in papers, or etc. because that is a VERY important part in this DIY!
 Stock Paper: You can just pick this up at Michael's. They're really inexpensive ($0.99) and super cute and versatile! For this DIY I would recommend getting some that sort of matches the colour of your binder. As you can see, the stock paper that I purchased has blue butterflies which goes with my blue binder!
 Ruler: I just got this from school, but you can easily find these at any office supply store or your local dollar store!


 2. Then, flip over the stock paper, once you've maken sure that the stock paper is big enough for the slip of paper.
 4. Once it's lined up, take your ruler and place the edge of the ruler with the edge of your piece of paper, so you can easily trace the side with a pencil!
 6. Now, cut on the lines you have traced, with your scissors! Try to be as precise as possible!


 So this is the final product! Transfer your binders from boring to amazing!